Workspaces
Workspaces represent the data (and UI configuration settings) defined for a specific use case in your Tenant. Tenants can have 1 or more workspaces.
System Default Workspace
Every tenant always has the “System Default” workspace available to it. The system default workspace represents PMED global default values. The system default workspace cannot be modified by any users in the system and is always accesible to all users in the tenant.

Figure 3: Current Workspace Action Menu
Creating a Custom Workspace
Users with the [EditWorkspace] policy can create, edit, and save workspaces. To create a new workspace, click on the tenant you would like to create the workspace in, under the tenant navigation menu item.
Workspaces should be the default view in your selected tenant.
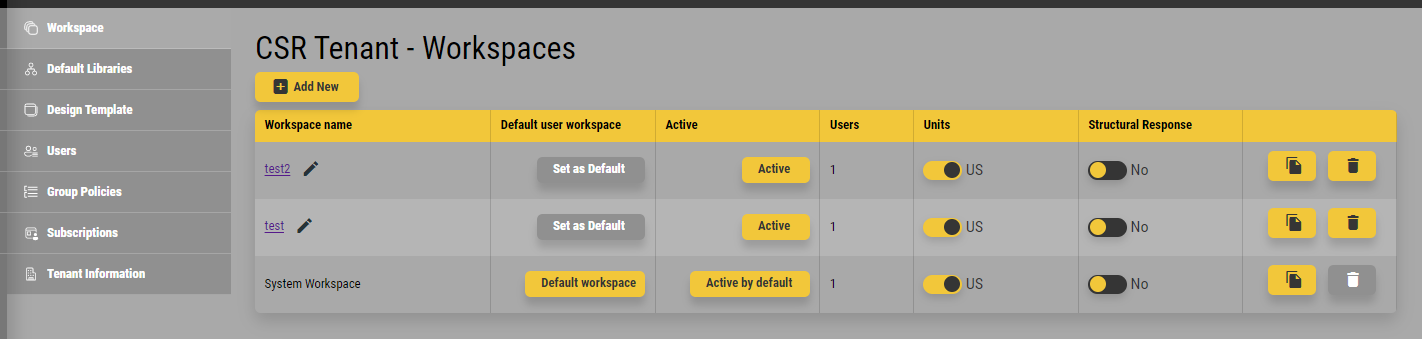
Figure 4: Tenant Management
Click the add new button to create a new workspace. You will be prompted to enter a name for your workspace. After entering a name, click the Create button. Your new workspace will then be available for use.
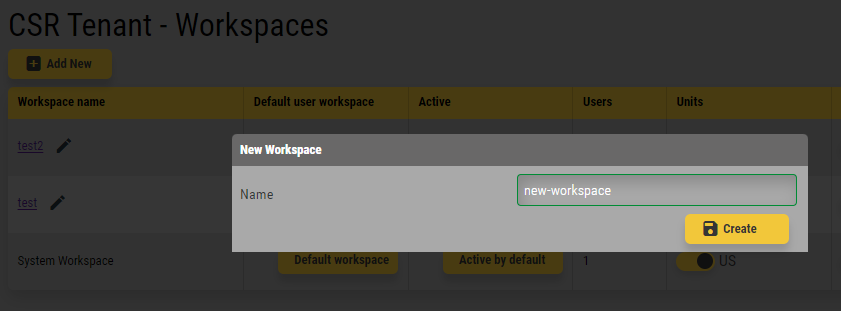
Figure 5: New Workspace
Workspace settings
After creating a workspace, users can edit settings for that workspace in the workspaces component page. Here, users can set the workspace as the default workspace for themselves, set the workspace as the currently active workspace, view the number of associated users, set the default units for the workspace and copy or delete the workspace.
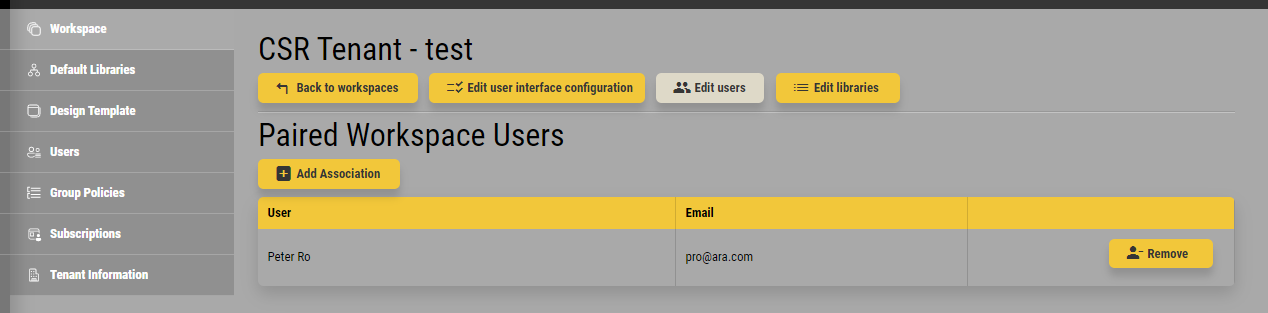
Figure 6: Workspace Users Editor
Selecting the workspace will take you to the workspace detailed settings page. Here users can set the [User Interface Configuration], edit associated users, and edit associated libraries.
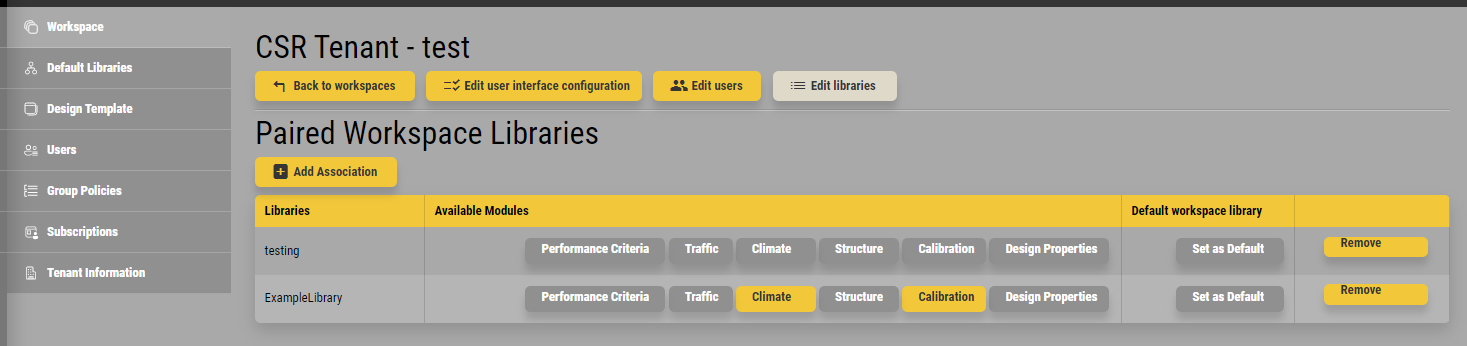
Figure 7: Workspace Libraries Editor
Edit Workspace Users and Libraries
To add a user or library to a workspace, click on Add Association and include the desired users and libraries from the prompt.
Figure 8: Workspace Users Editor
Edit User Interface Configuration
To set any particular property to readonly or to set a property to invisible simply check the adjacent checkbox next to the property. For entire modules, use the checkbox to the left in the action menus.
Note:
The User Interface Configuration Editor keeps the value left in the editor for computation since all listed parameters are necessary for PMED to make its calculations. Therefore, error messages for invisible or readonly values may occur. Make sure to leave valid default values when setting them to invisible or readonly.
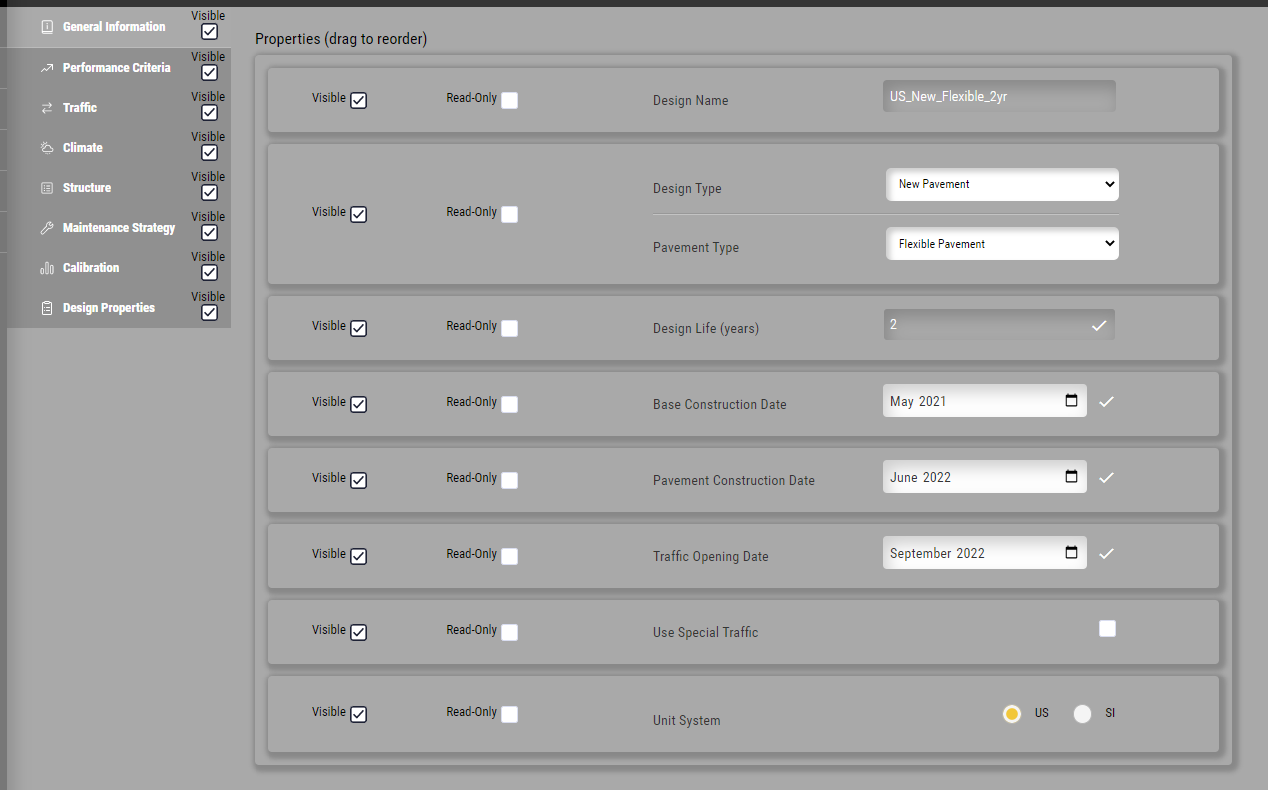
Figure 9: User Interface Configuration Editor